Christmas Cinnamon Rolls | My Secret Ingredient |

I don’t know about you, but it’s just not Christmas at our house unless there are cinnamon rolls for breakfast. It may be the yummy smell that fills our home when they are baking or the sugar rush you get from eating them, but cinnamon rolls were just made to be consumed on Christmas. And since the holiday is fast approaching, I thought it might be fun to share one of my family’s favorite holiday treats with you all. I do have to admit, this recipe is one that I cling tightly to. I don’t typically share the secret to my cinnamon rolls. However, I so appreciate how lovely you all have been supporting my new blog, that I just couldn’t keep the recipe to myself any longer! Enjoy.

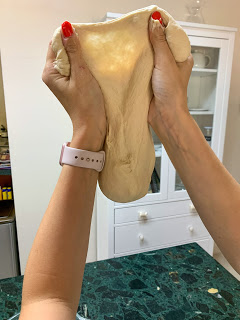
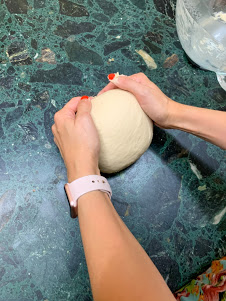
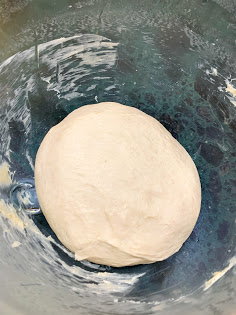
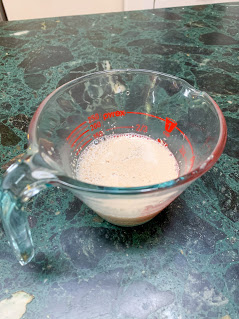
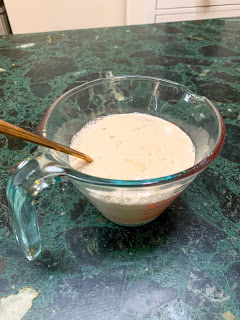
I begin with my basic bread recipe. You can find that in my previous blog post “How To Make Perfect Dinner Rolls: A Step By Step Guide.” I will link it here for you! Follow the directions on that post until you get to step number six, and then begin here.

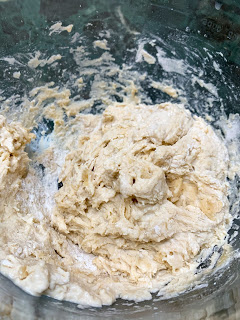
Step 6: Roll Out Your Dough

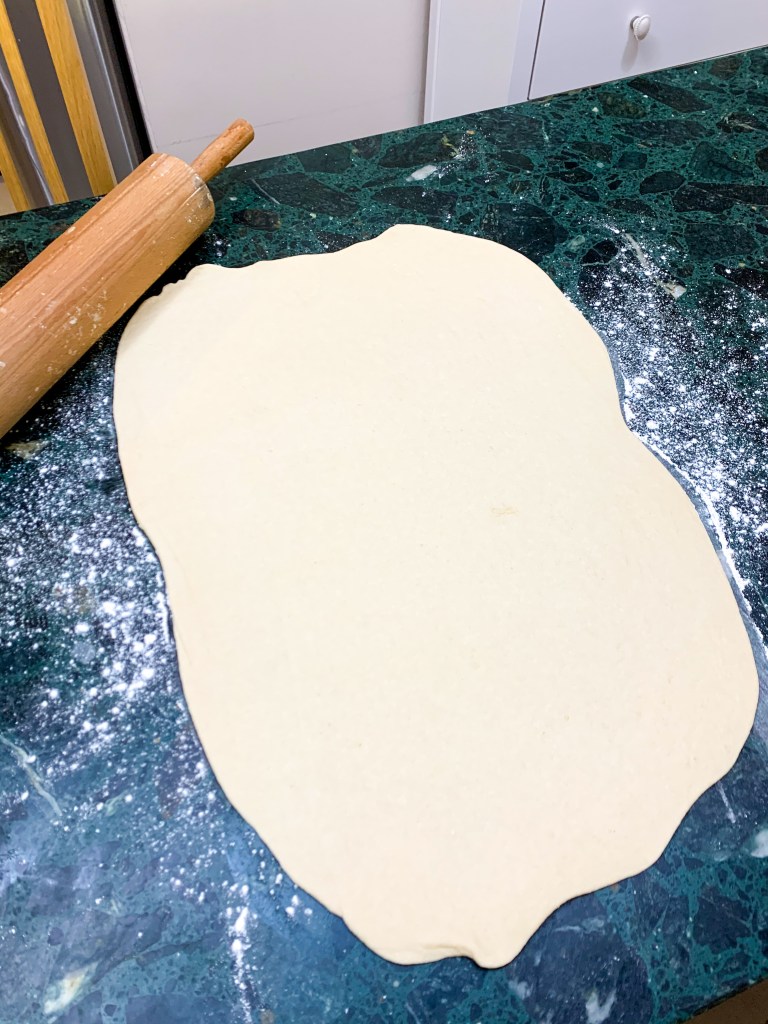
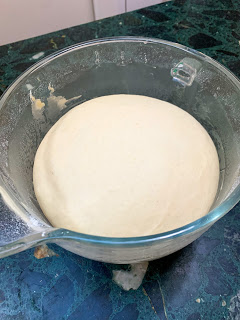
Once your dough has nicely doubled in size, gently place it onto a lightly floured surface to work. Press all of the air out of your dough ball, then grab your rolling pin. Lightly coat your rolling pin with flour and begin to roll out your dough into a rectangular shape. It does not need to be a perfect rectangle, just the basic shape will do. I roll mine out until it is about a quarter of an inch in depth. If you find that your dough is not cooperating after you de-gas it, let it rest for a few minutes before trying to roll it out.

Step 7: Adding The Secret Ingredient

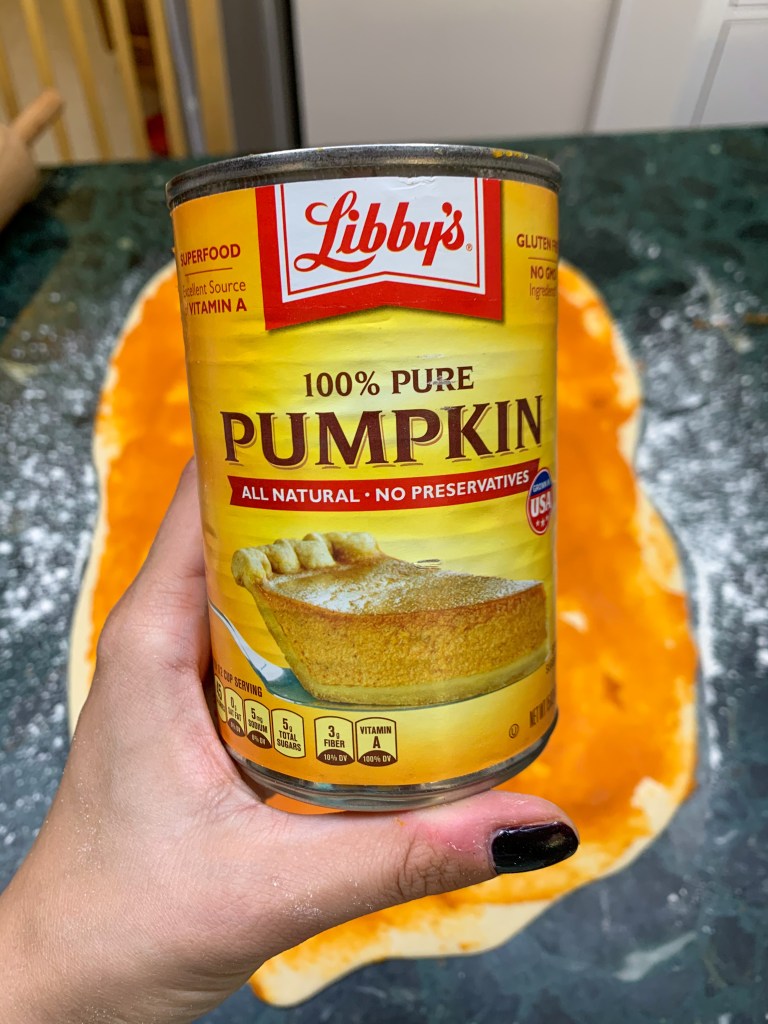
You will not be using butter to make your cinnamon rolls. My secret to perfect cinnamon rolls that will stay fresh and moist for days is to use canned pumpkin puree! I promise, you will not be even be able taste the pumpkin. (NOTE: Do NOT use pumpkin pie filling).

Take 1 cup of pumpkin puree and spread it evenly over your rolled out dough. I like to use a small offset spatula, but a butter knife would work just fine also. (I always save the remaining from the can and mix it into a batch of cookies).

Step 8: Top With Brown Sugar And Cinnamon

Once the pumpkin puree is nice and evenly covering your dough, sprinkle 1/2 cup light brown sugar over it. Then, generously cover with ground cinnamon. I don’t measure out the cinnamon, I just make sure it has a really nice layer to it.

Step 9: Rolling Your Dough

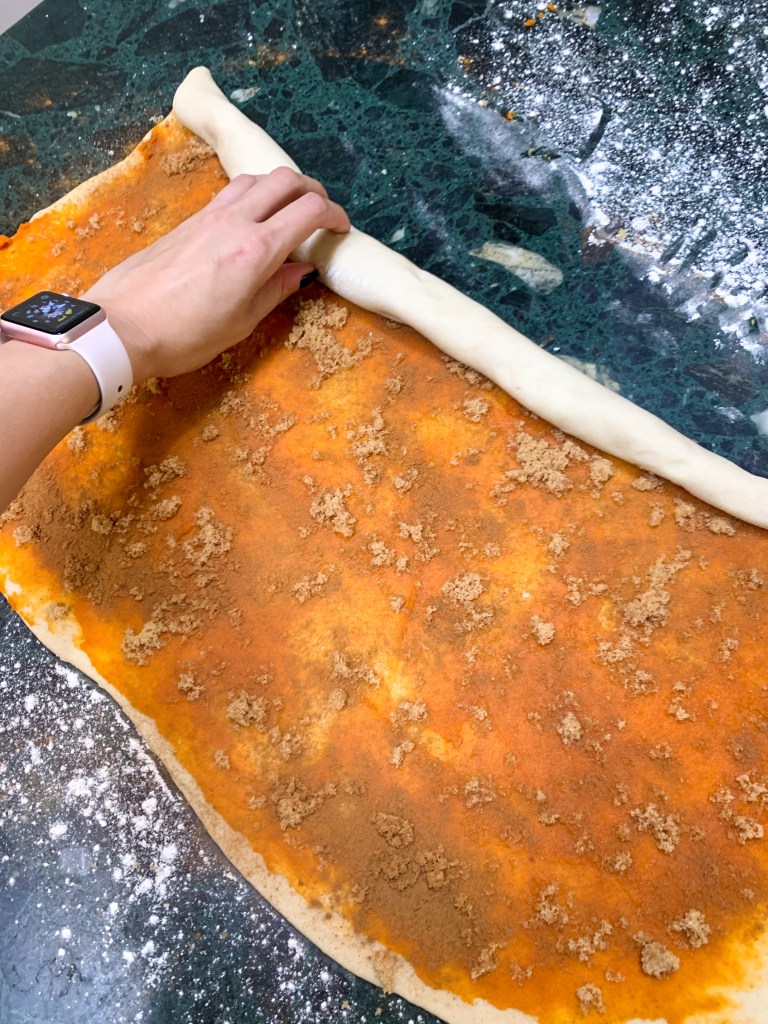
Roll your dough into a tight spiral starting from the long side of your rectangle. I start in the middle and work my way to the end to make it easier. As you roll ,you might find that the middle gets thicker than the ends. When this happens to me, I pull on the dough a bit from the middle to help even it out. Once I roll it up completely, I give a gentle to pinch to the seam to seal it just a bit and make it easier to place in the pan.

Step 10: Slicing Your Cinnamon Rolls

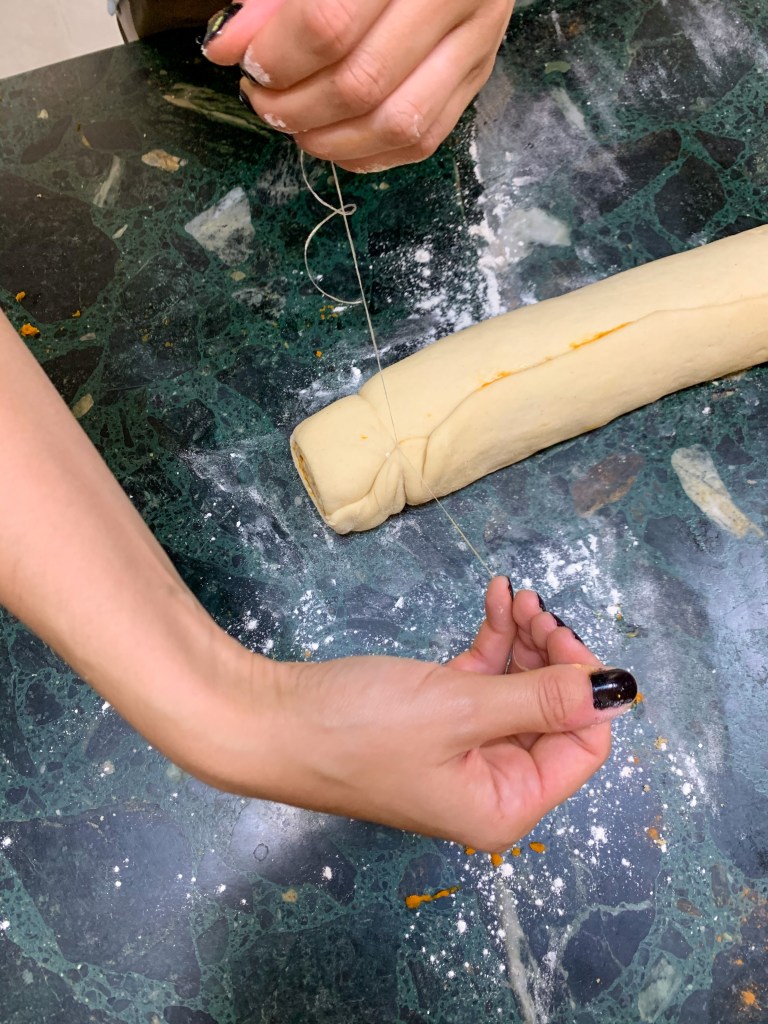
My trick for making nice crisp looking cinnamon rolls is to use unflavored dental floss. I just slide it under and cross it at the top, then pull it through the dough. Before I begin slicing my actual cinnamon rolls, I cut off the ends. I find that they just don’t look nice and don’t have a lot of filling so I discard about a inch from each end. One I do that, I slice about 1 1/2 inch cinnamon rolls using the dental floss and place them into a lightly greased pan.

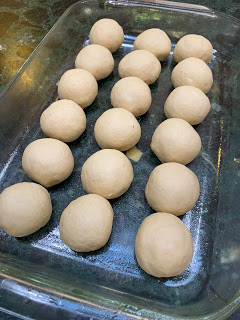
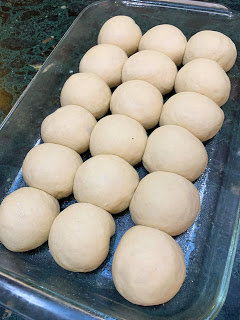
Step 11: The Second Rise

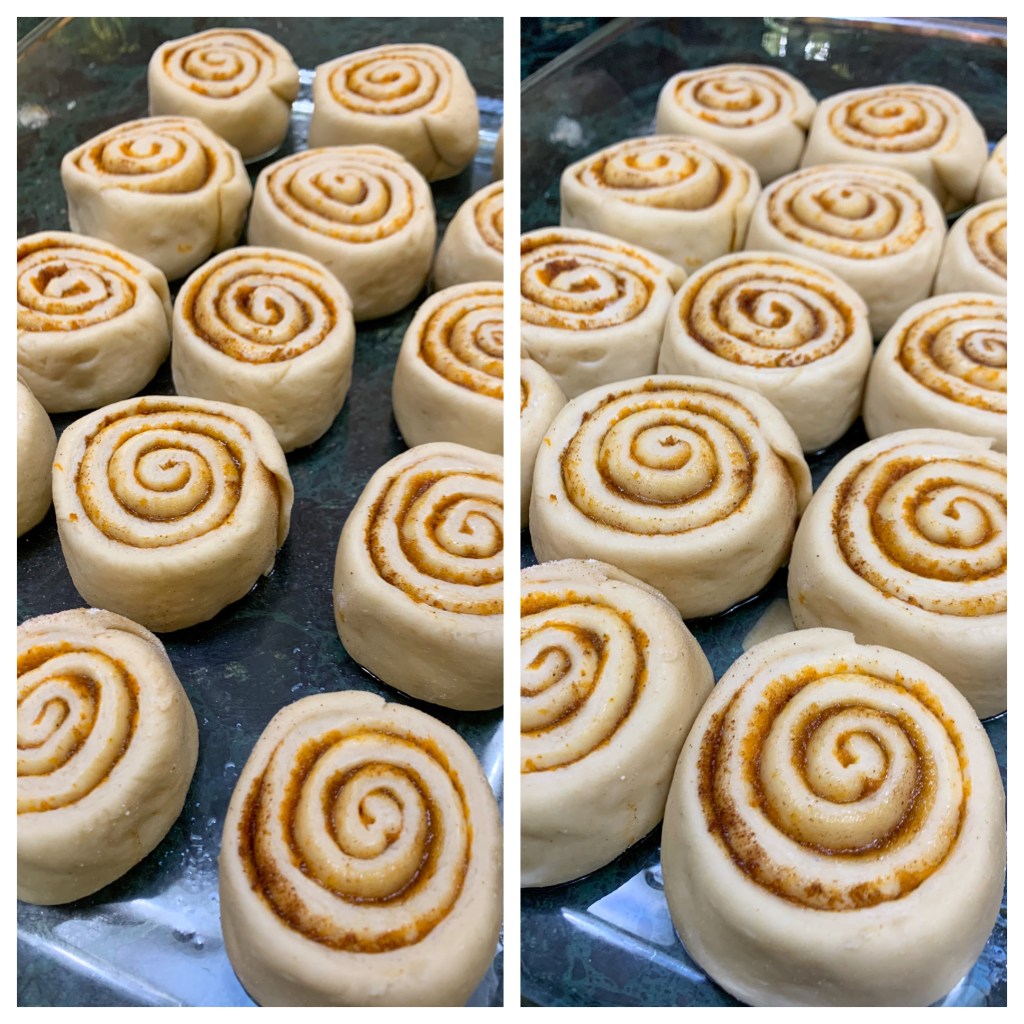
Once all of your cinnamon rolls are placed into your greased pan, it is time for the second rise. I place a tea towel gently over them and just let them sit for about 45 minutes or until they are nicely doubled in size. I always make sure to preheat my oven during this point as well. You will be baking them at 375 degrees Fahrenheit or 190 degrees Celsius.

Step 12: Time To Bake

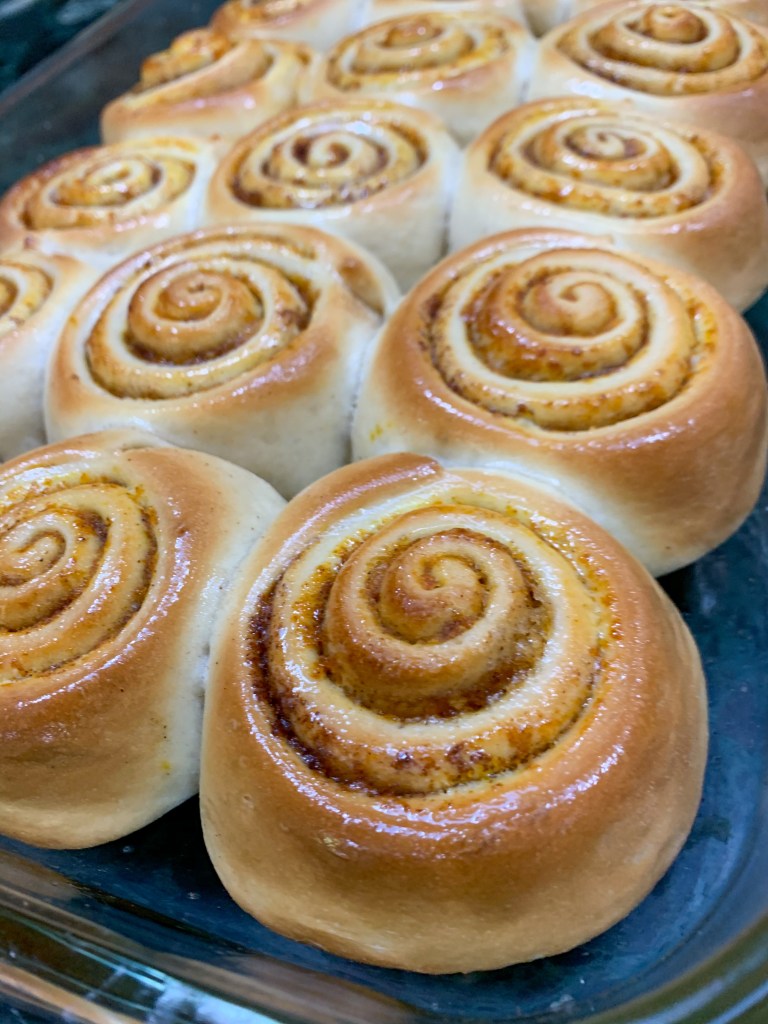
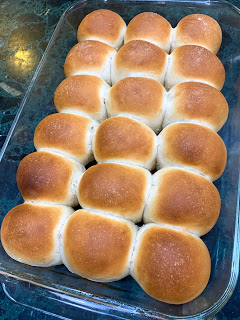
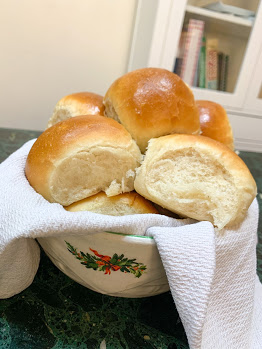
Once they are nicely doubled in size, it is finally time to bake. You will bake for 10 -15 minutes depending on your oven. Once the cinnamon rolls are nicely golden brown it is time to take them out. To prevent them from getting tough be sure to remove them from the baking dish after about 5 minutes or so. I place mine into a large serving bowl covered with a tea towel until they are completely cooled.

And there you have it! Perfect Christmas cinnamon rolls. If you prefer to have icing with yours you can make some cream cheese frosting very easily by mixing together 1/2 cup unsalted butter, 8 oz softened cream cheese, 1 tsp. vanilla extract, 1/4 tsp. salt, and 4 cups powdered sugar. So simple, and so delicious!

Enjoy your yummy treat and have a very Merry Christmas ❤

How To Make Perfect Dinner Rolls: A Step By Step Guide

Here is my basic bread recipe. From it you can do so many things, dinner rolls, loaves of bread, 
cinnamon rolls, pepperoni rolls. Below is the recipe along with step by step directions. Because Thanksgiving is coming up, this is the perfect time to get a few practices in before the holiday. If your family is anything like mine, they won’t mind one bit being the test subjects! Making bread is such a relaxing and fun activity for me, and I hope you will find it just as enjoyable.

Homemade Bread Recipe:

  •     1 T Active Dry Yeast
  •     1 T Sugar
  •     1/2 Cup Warm Water
  •     5 Cups All Purpose Flour
  •     1/4 Cup Sugar 
  •     1/2 T Salt
  •     1 1/2 Cups Warm Water 
  •     1/4 Cup Vegetable Oil
  •     2 T Melted Butter

    1. Gather all ingredients and begin by activating the yeast. I do this by combining 1 tablespoon of yeast and with 1 tablespoon of sugar in a glass measuring cup. You will then need to add in your warm water. I like to water that is about 105 degrees Fahrenheit. Add the water to the 1/2 cup line and give it a quick mix with a fork. Set it aside.

           Before and after yeast activates 

    2. While your yeast activates (about 5 or so minutes) begin to combine your dry ingredients. In your stand mixer combine the flour, sugar, and salt. Make sure it is all mixed nicely together. If you do not have a stand mixer that is ok. Just combine all of your dry ingredients into a large mixing bowl, you will be able to make your bread by hand with a little extra effort!

    3. Once your yeast is nice and bubbly you may add it to your dry ingredients. Next, add the vegetable oil followed by the remaining 1 1/2 cups of water.  NOTE: When adding the water, I like to take the measuring cup I used to activate the yeast and fill it back up so that any yeast left in the cup will be added in. 

    4. Combine all ingredients into mixing bowl, at this point the dough will look very “shaggy”, that is ok. If using a stand mixer attach the dough hook and turn the mixer to a medium low speed.  Let it knead for approximately 5-7 minutes. If mixing by hand, turn dough out onto a lightly floured surface and begin to knead for about 12 minutes. Once finished, do the window pane test with your dough to see if the gluten has developed enough. Hold from the top and let it slough. If it stretches thin enough for you to see light through it without ripping, your dough is ready. If not continue kneading until you achieve this result. 

A.             B.

                   A.”Shaggy” looking dough                                B. Windowpane test

5. Form the dough into a nice ball by rotating your hands around the base and pulling the dough toward you from the bottom. Place the dough ball back into the mixing bowl. You can then either cover with a tea towel or plastic wrap. I like to place my dough in the oven with the light on to rise. This provides just a small bit of warmth to help rise well. Let rise for one hour.  

            How to shape dough into tight ball to rise

    6. Once your dough has doubled in size remove it from the oven and GENTLY place onto a lightly floured surface. Do notpunch your dough down. As tempting and satisfying as it sounds, your dough will get sad and not rise as well the second time around. It is a sweet delicate dough baby and needs to be handled with care. All you need to do is gently press onto your dough until it is completely degassed. 

         Dough before and after after first rise. Nicely doubled in size.

    7. Spray your dish that you plan to make your rolls in with cooking spray (I like to spray mine outside so I don’t get my kitchen greasy). And set next to your dough.

    8. I like to divide my dough out evenly before placing it into the pan. For smaller rolls, divide into 24 even dough balls, for larger rolls do 18. I like to use a kitchen scale for this to make sure they are all even. To roll the dough into a nice ball takes a bit of practice. I flatten it out a bit using my thumbs and going around the entire ball. I then make a circle connecting my thumb and middle finger, while pushing the dough through with my other hand and pinching the bottom together to form a smooth ball. Then place gently into the dish. 

            How to form individual balls of dough for the final second rise

    9. Once your dough is evenly divided into the appropriate amount, it is time for the second rise. Cover the dish with a tea towel or plastic wrap that is sprayed with cooking spray. This time I like to preheat my oven while the dough is rising so, do NOT place back into the oven. Preheat your oven to 375 degrees Fahrenheit. Let the dough rise for about 45 minutes the second time, or until they are properly doubled in size.

           Before and after the second rise. Dough is now ready to be baked.

    10. Bake your rolls for about 15 minutes. This will depend on your oven. I rotate mine halfway through so they brown evenly.While the rolls are in the oven melt about 2 tablespoons of butter and set aside (microwave for 30 seconds to melt). If the rolls are still pale at all on top they are not ready to come out. Once they look like this (see below), remove from oven. 

         How your rolls will look when they are ready to come out of the oven

    11. Brush the hot rolls with the melted butter. Let your rolls cool for a few moments in the pan (about 5 minutes or so). Then take them out and place into a large serving bowl or dish covered with a tea towel. This is a very important step because if you let them sit in the hot pan too long they will sweat and get tough. 

    12. It’s time to enjoy your hard work! Your Thanksgiving guests will love them and be begging you to share your secrets. Homemade bread adds such a special touch to any dinner and makes your house smell INCREDIBLE! I can’t wait to see your guys rolls.