
I LOVE Thanksgiving. I love that its a simple holiday where family and close friends gather together to share a meal. There’s no gifts to stress over or other things to organize, it is simply about the food and the company. Over the past few years, I have loved being the host of Thanksgiving dinner. Getting to cook for people and welcoming them into my home brings me a lot of joy. I understand, for some, its a bit more of a job to take on regardless of whether its your first or fiftieth time hosting. So I thought I would share some of my methods for staying organized and getting it all done. Hopefully, this helps and we can all enjoy the holiday with those we care about, and not spend all of our time stressing about preparation for the big day!
How To Get Organized
My process is simple. Right after Halloween, I start by writing out all of the menus. This includes appetizers, the main meal, desserts, and beverages. Leave nothing off the list. Literally, I write butter on there, because I do not trust myself enough the week of Thanksgiving to remember it. I also write out my entire grocery list for the whole meal. That way I am not overwhelmed when it gets closer to the holiday. As I’m sure you are aware, many stores are packed the week of and for me I find it very stressful to shop during this time. Therefore, to make it easier and reduce the stress, I buy it little by little throughout the month as I come across it.
Extra Touches
Now if I’m being honest, I like to do a few things that some would consider over the top, but I really enjoy the added touches so I do them anyway. When we lived in the states I loved to order printed Thanksgiving invitations. Even though it was just family attending, it made it a little more exciting. Also, my grandma loves things that have a little “extra” touch, so mainly I did it for her excitement and enjoyment. Shutterfly had some of the cutest ones and I just couldn’t resist. Plus, they were super affordable. I also liked to have little favors at each place setting. Sometimes I would do chocolates and once, I did little ornaments. It doesn’t have to be anything expensive or ultra fancy, but just a little touch of something to make it personal and welcoming.
Must Haves
I highly recommend investing in a few crockpots for Thanksgiving day, if you don’t already own some. As a disclaimer, I do not like to cook with them on a regular basis, but on a day when your oven and stove are at max capacity, it just makes things bit easier. Its so nice to be able to make something earlier in the day and keep it warm for when you are ready to eat. Personally, I prefer to use them for my mashed potatoes and corn. I find that those items do really well in the crock pots, and don’t get dried out. Also, they make these fantastic things called crockpot liners, which makes the cleanup about 5 seconds long.
Make Your Action Plan
As I mentioned earlier, I love to host but I also love to enjoy the day and relax which I’m sure you do as well. That’s why preplanning is key. Therefore, about one week before Thanksgiving I create my action plan. I sit down with my menu and write out the order in which I will cook everything while making note of the things I can make the day before. Below is a sample list from years past. While it can vary from year to year based off of who is coming and if they are bringing a dish, this is a pretty standard guide. So, if you are interested check it out.
Favorite Thanksgiving Memory
If you haven’t noticed by now,I really love this time of year. So, I thought I would share my favorite Thanksgiving memory with you all before I wrap up. Thanksgiving 2016 was the first major holiday my family celebrated after the death of my grandpa. We were all still mourning the loss and his presence was deeply missed. It just felt a little like something was missing from the day. We had gathered together to celebrate in the home he and my grandma had shared. The home we had celebrated so many holidays in together and on each holiday, especially Thanksgiving, my grandpa ALWAYS said the blessing over the food. There were no exceptions. He was the patriarch of our family after all. However, when it came time to pray on that day, we all stood there and looked at each other. Nobody quite knew what to do or say. Now, if you know my brother, you know he is a funny guy. The comedian of the family. He grabbed the hand of the person on his left and his right. And without missing a beat he began to sing. “Blessed be the tie that binds, our hearts in Christian love. The fellowship of kindred minds, is like to that above. AMEN.” We all joined in, we had all been raised baptist so we knew these words by heart from the age of 2. While it was a bit comical (we all chuckled a little), my grandma decided not only did she like what he had done, but it would also suffice as the blessing. And now every year, we join hands and sing the old hymn. Partly to have a little laugh and partly to bless the food before us.
You’ve Got This!
Now, finally, I just want to leave you with a bit of encouragement. Whether your green beens come from a can or you picked them from your garden. Whether the mashed potatoes are instant, or made by hand. Whether you use china or paper plates. Remember none of that matters. None of that ever mattered. The only thing that matters are the people around your table. The fellowship you all will get to have with one another. And the memories you will make together. Those are the things people will remember. They will remember how you made them feel when they walked in the door. And they will be thankful they were able to spend such a special day together.
My Personal Action Plan
Here are the things I cook or prep the day before:
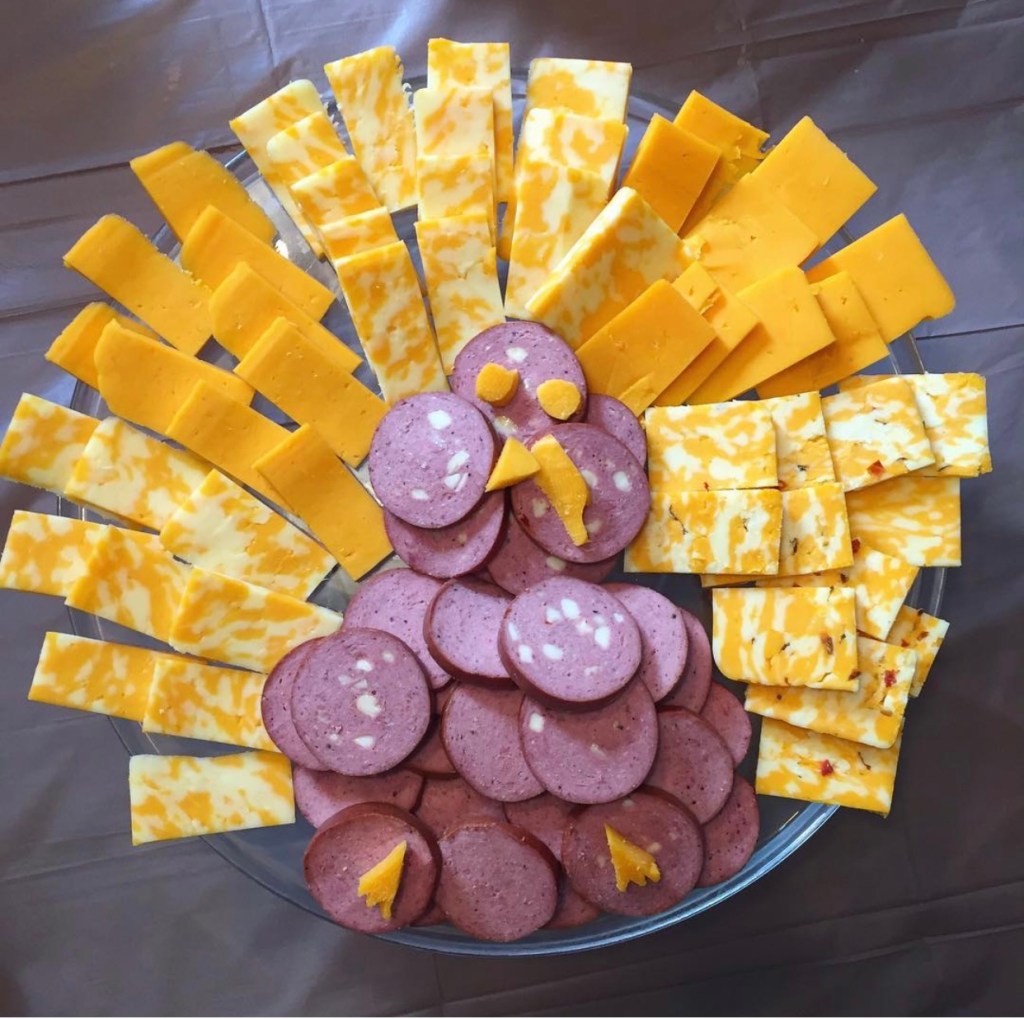
- Make the cheeseball for appetizer
- Slice all cheese and meats for appetizers
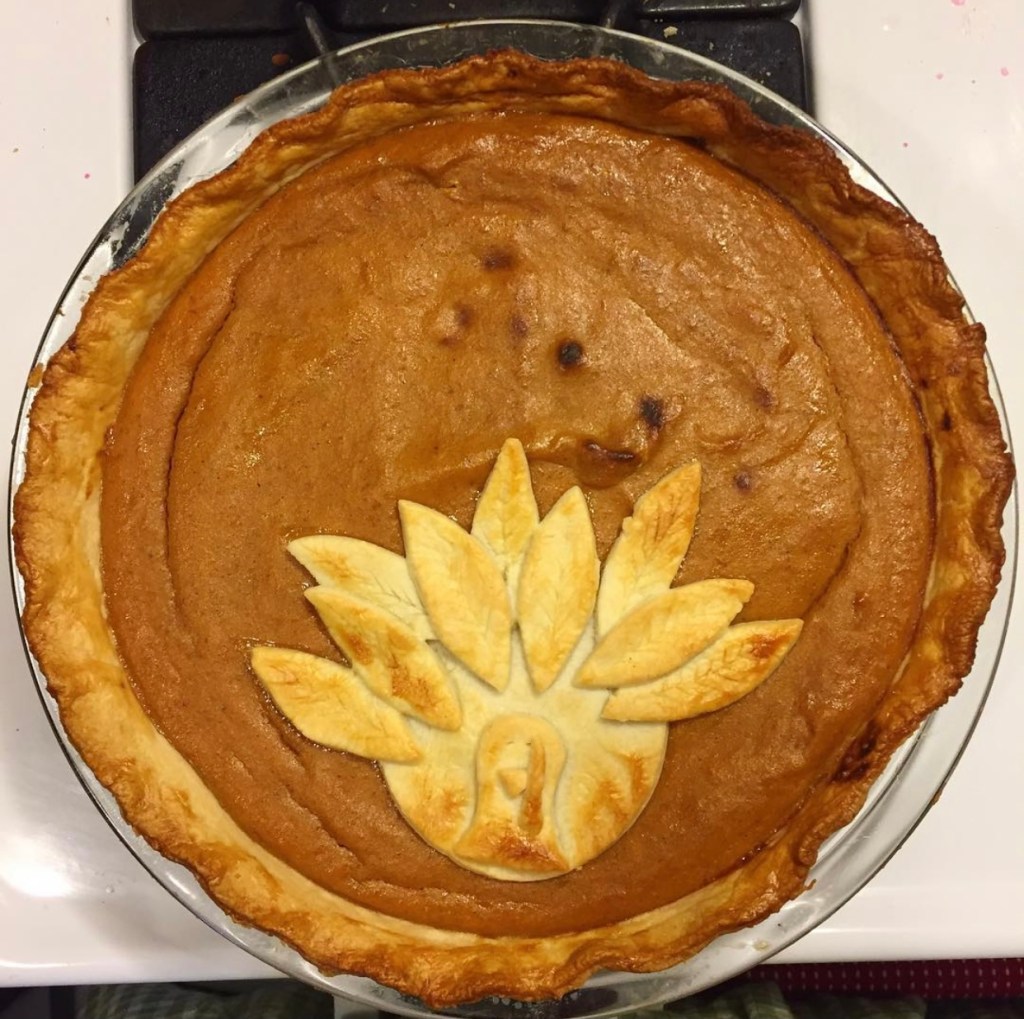
- Bake all pies and make the whipped cream for topping
- Make deviled eggs
- Prep turkey the for next day
- Set the dining room table
Here is my day of Thanksgiving timeline:
- 1. Turkey
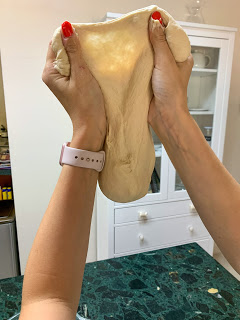
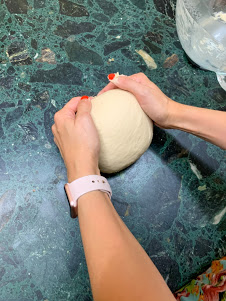
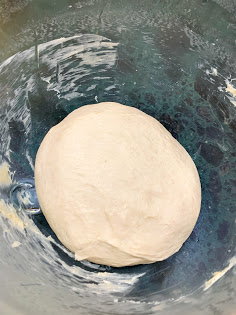
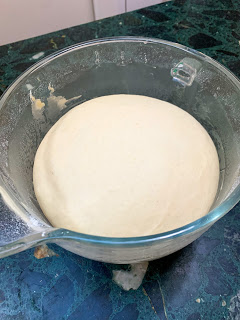
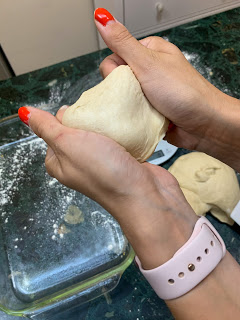
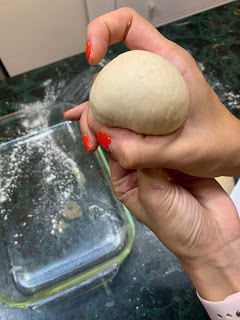
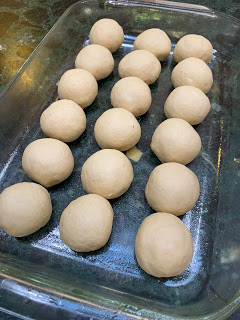
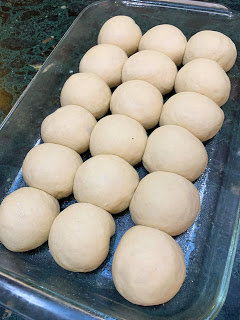
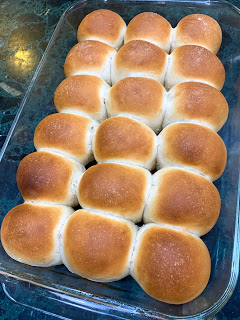
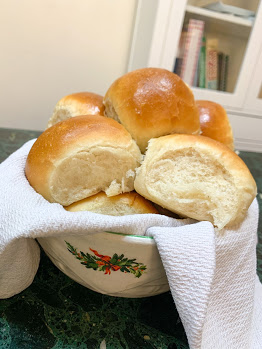
- 2. Begin rolls (they take a while since they have to rise 2 times)
- 3. Set out butter to soften
- 4. Begin sweet potato casserole
- 5. Plate and set out all appetizers
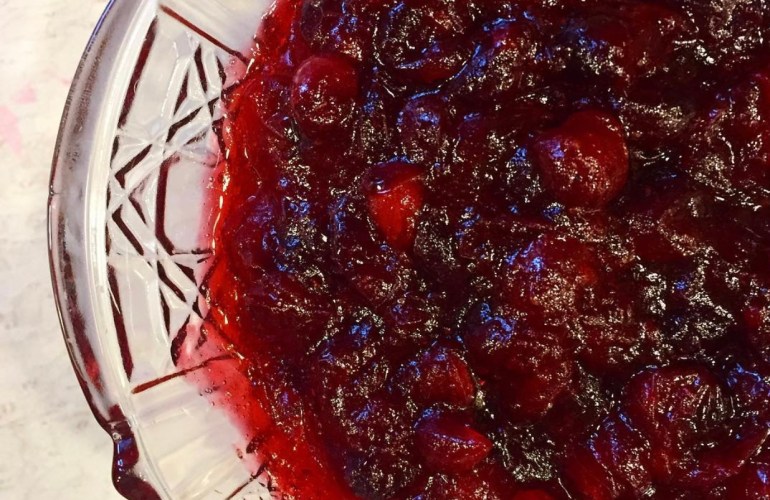
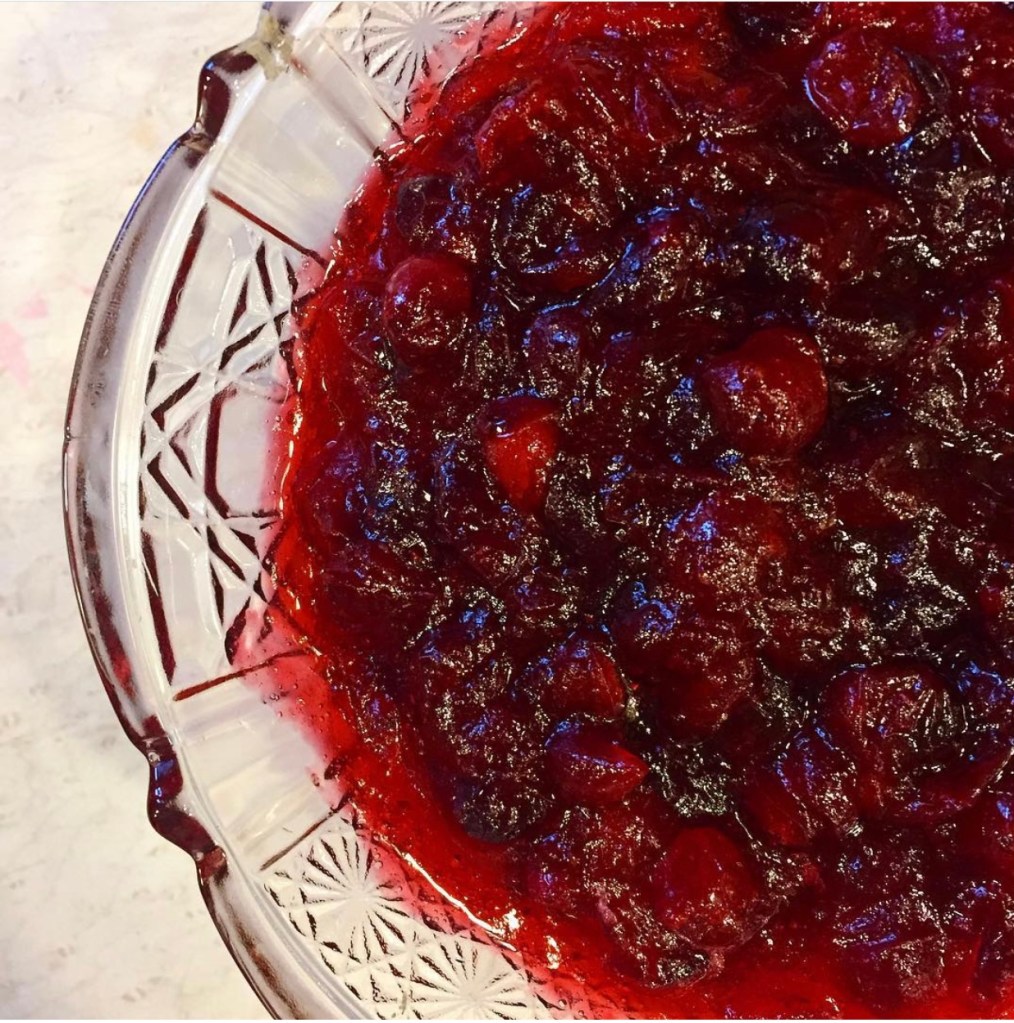
- 6. Cranberry sauce (I like it room temp, so this gives it time to cool and be perfect for dinner)
- 7. Corn (I do this one in the crockpot)
- 8. Green Bean casserole
- 9. Mashed potatoes (once finished I place in crock pot to keep warm)
- 10. Stuffing
- 11. Gravy
- 12. Remember to grab deviled eggs from the refrigerator ( once we forget them haha)
- 13. Set out dessert right before you are ready to eat your meal
- 14. Enjoy!

 B.
B.